DIY
Building a Reef Tank
Ah, the joy of building. I was raised around construction. My dad was a project man, thus I became a project man. And for what skills I didn’t learn growing up … well it can’t be that hard can it?
If only my wife shared my joy of construction. She really put up with alot this time. Her kitchen was a complete wreck for several months while I toiled away. I am very lucky to have a patient woman in my life.
I have put together a sequence of pictures I took during the construction phase. Click on a picture for more detail.
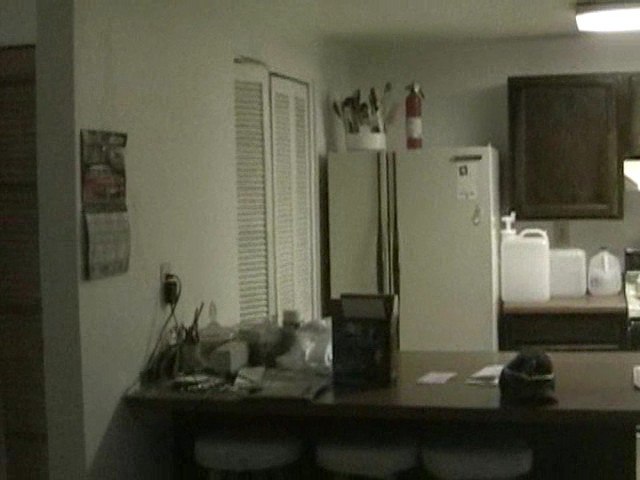
Here is an image of the kitchen before we purchased the house. All the changes to the kitchen I did myself with the exclusion of the countertops. My Dad installed those.
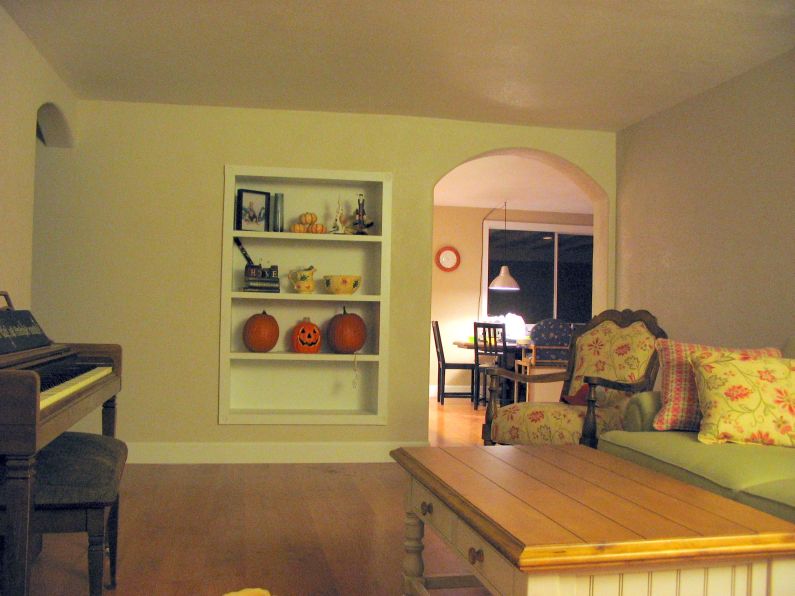
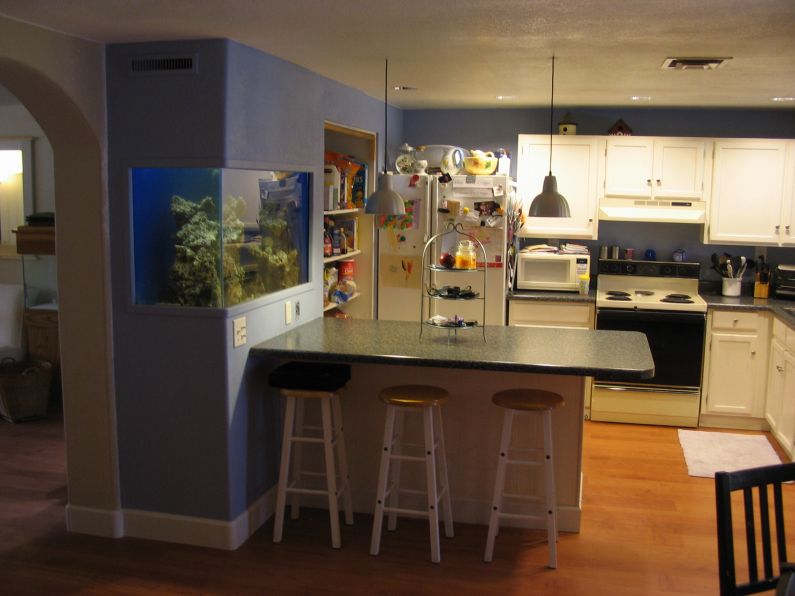
Here is an image of the living room after I had remodeled the living room. Notice the bookshelf that I embedded in the wall. I am planning to relace this with a bookshelf that will swing open like a door to allow access to the back of the aquarium. This will be the only access into the aquarium.
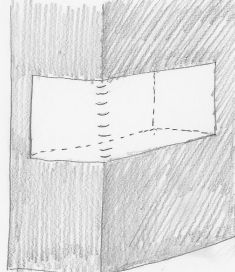
Here is very crude sketch I made to sell my wife on the in wall aquarium idea.
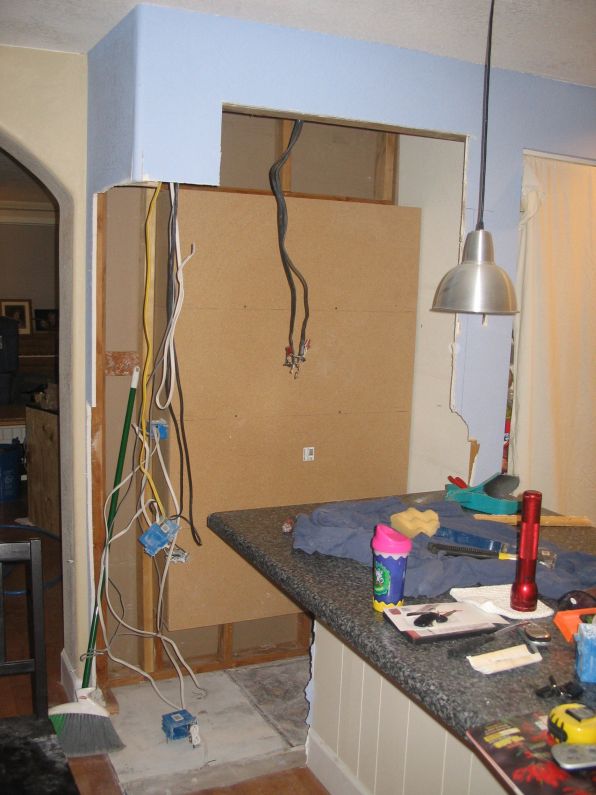
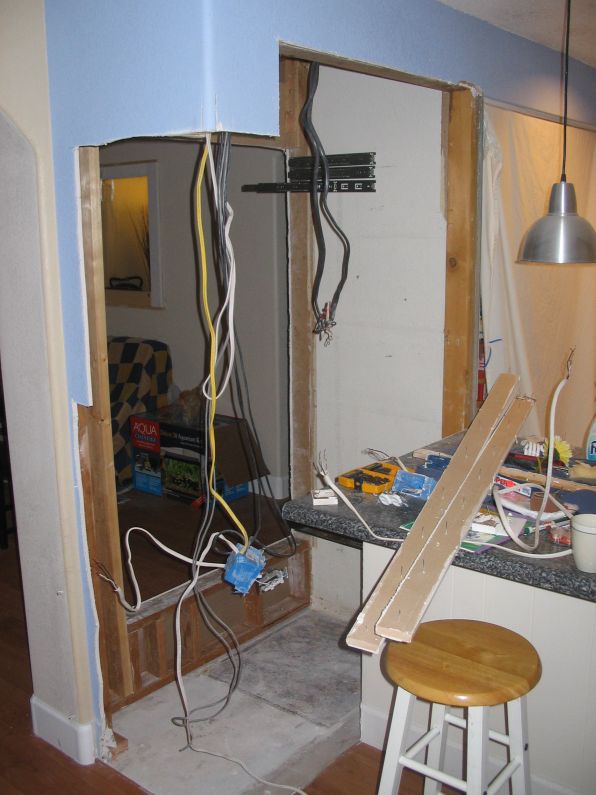
I tore out the wall behind the bar.
I then removed the bookshelf.
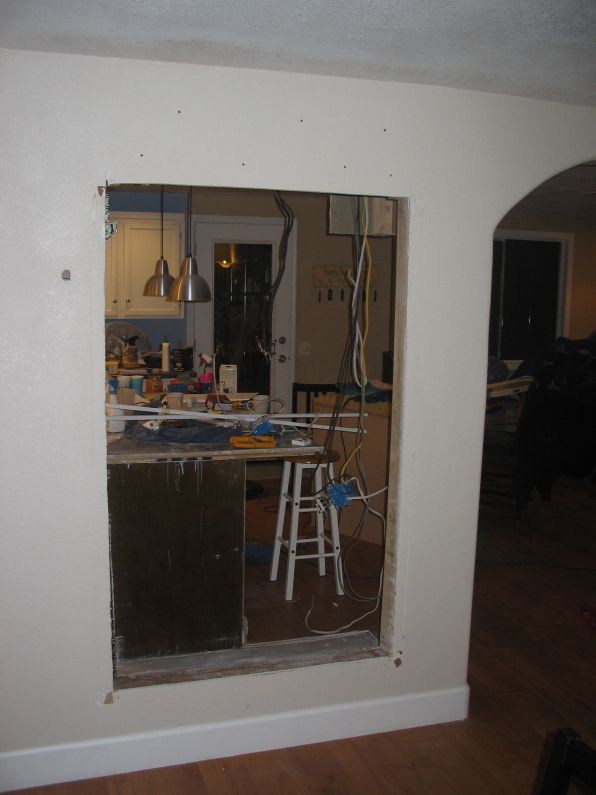
Heres the living room side with the bookshelf gone.
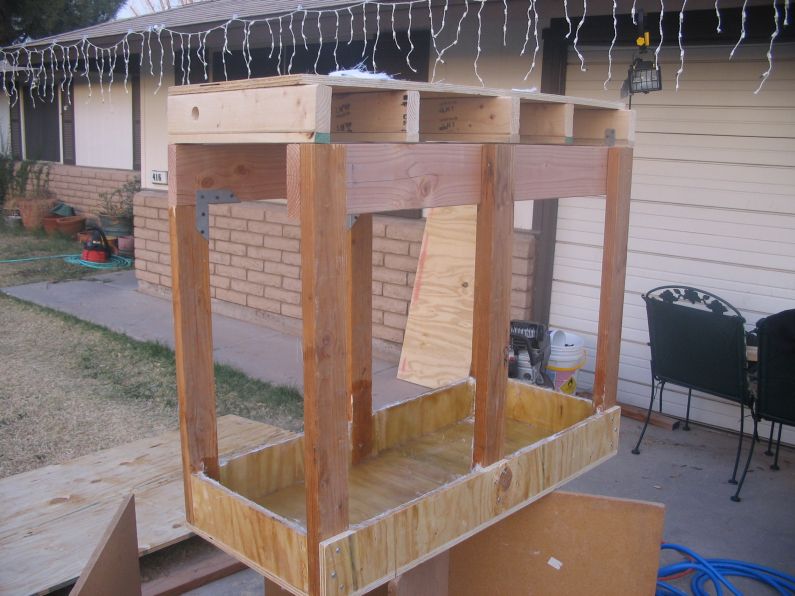
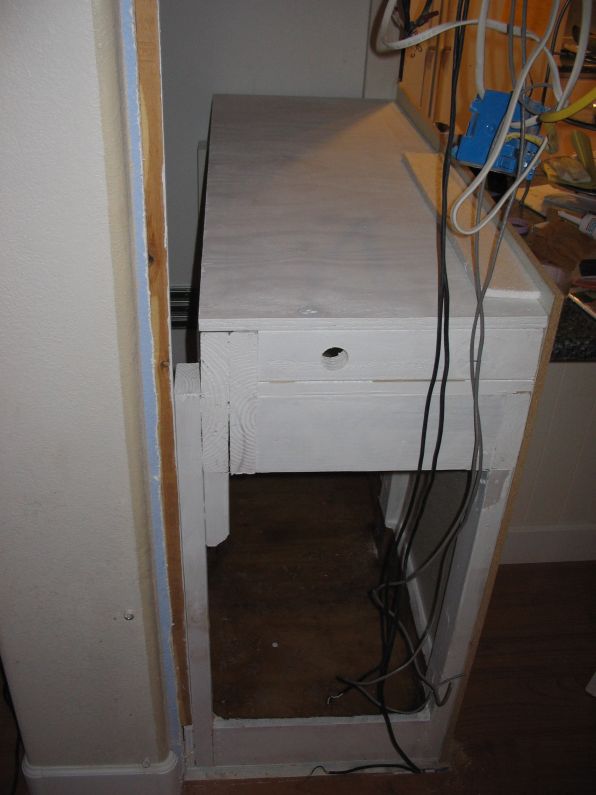
The start of my aquarium stand. In the bottom, I built in an 18 gallon trough and used fiberglass resin and mesh to make it durable and water tight. This will provide great work surface and provide some measure of protection against spills and sump overflows. (Been there. done that.) Besides who likes to worry about dripping everywhere when working in the sump. This way I can be messy and not have to worry.
The stand painted and installed with one wall attached.
Another view of the stand installed. The 1/2 inch particle board wall is lined with FRP (Fiberglass Reinforced Plastic) to help handle moisture and salt spray from the sump. The partile board surface is going to be finished the witha a drywall spray on knockdown texture and painted to match the surrounding walls.
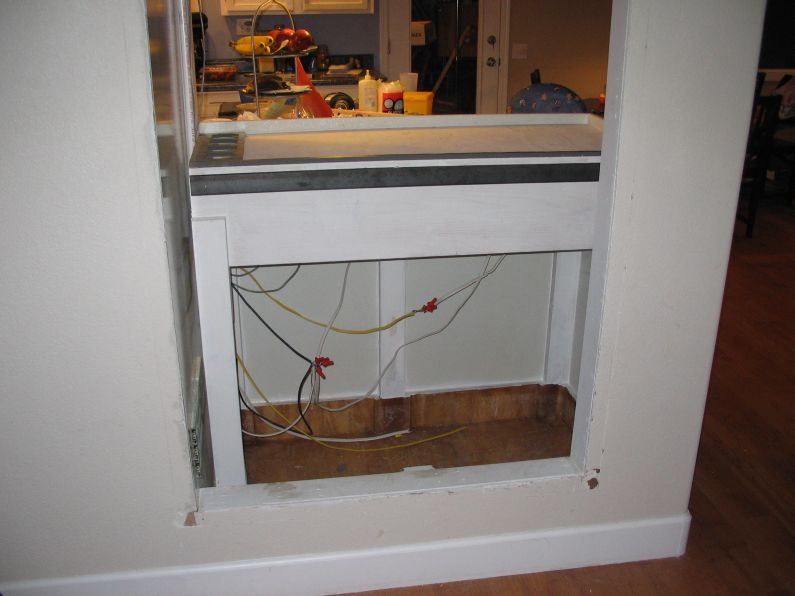
The other particle board wall of the stand installed. The wiring conduit holds the lines to the switches and plug on the bar face wall.
I installed the plug and switch plates and caulked the seam with silicone to keep the moisture and the noise inside.
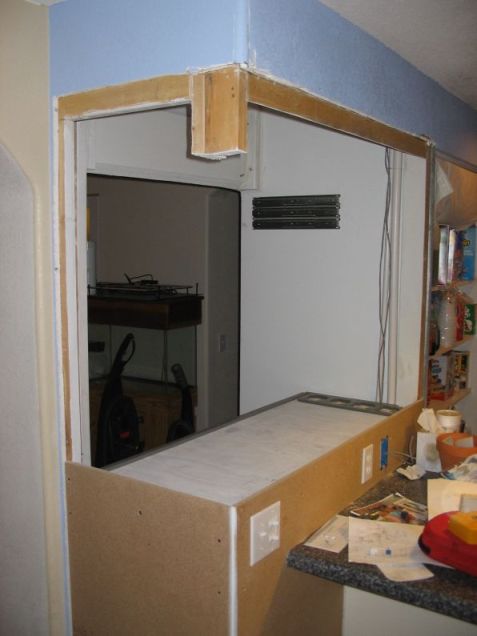
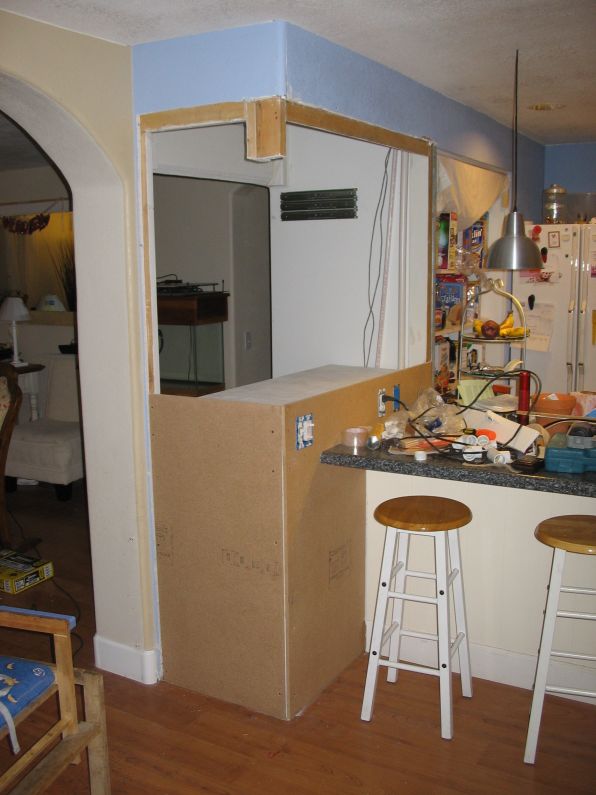
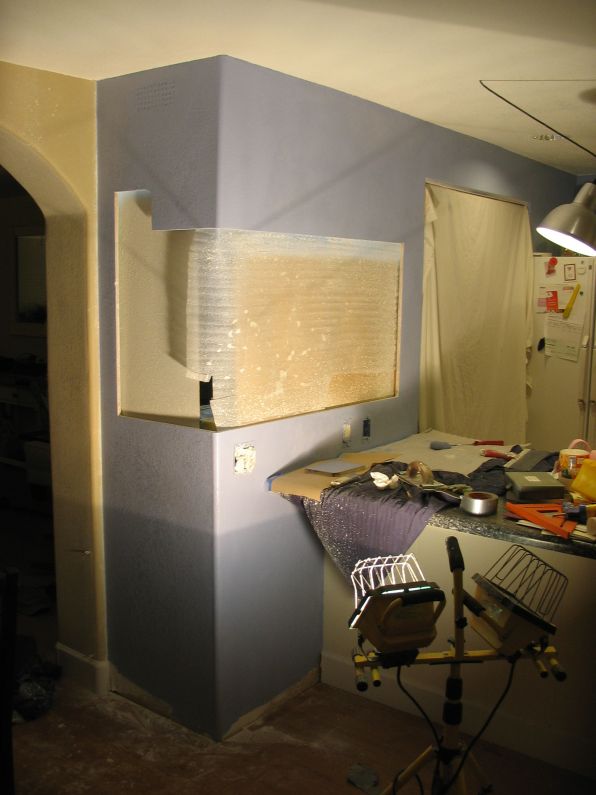
I installed have installed the top wall, the rounded corners, and textured the opening. The notch in the left side by the arch was an interesting story. The aquarium isnt installed yet. I was planning on installing it from the back (bookcase) side. This notch was to allow the corner of the aquarium to poke out while I swung it into place. It didn’t work and I later had to remove more of this top panelling and slide the aquarium in through this side before patching the paneling.
After painting to match the rest of the kitchen. The color is “enchantment” by glidden or behr. I don’t remember which.
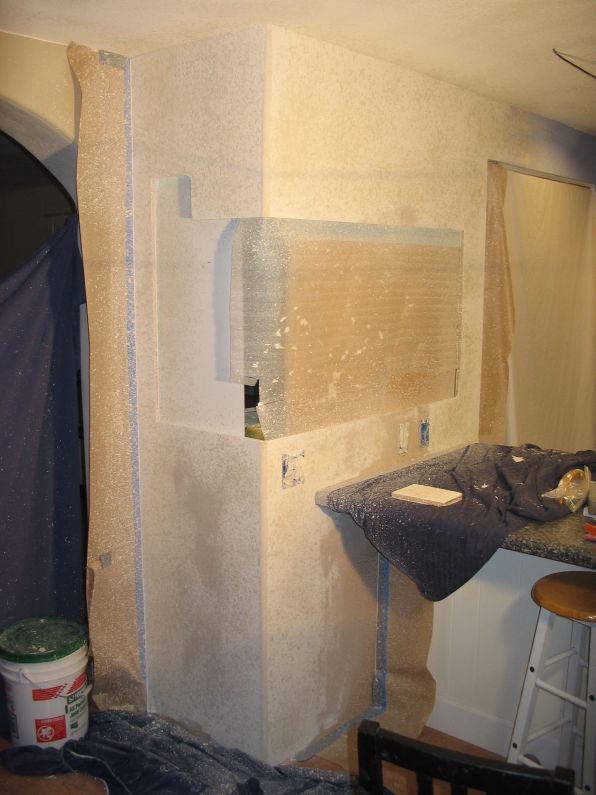
Cleaned up a little.

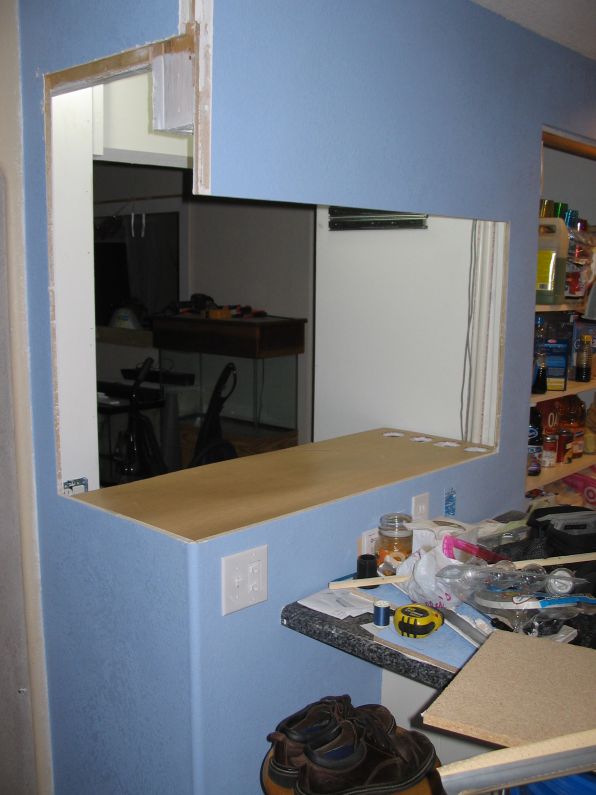
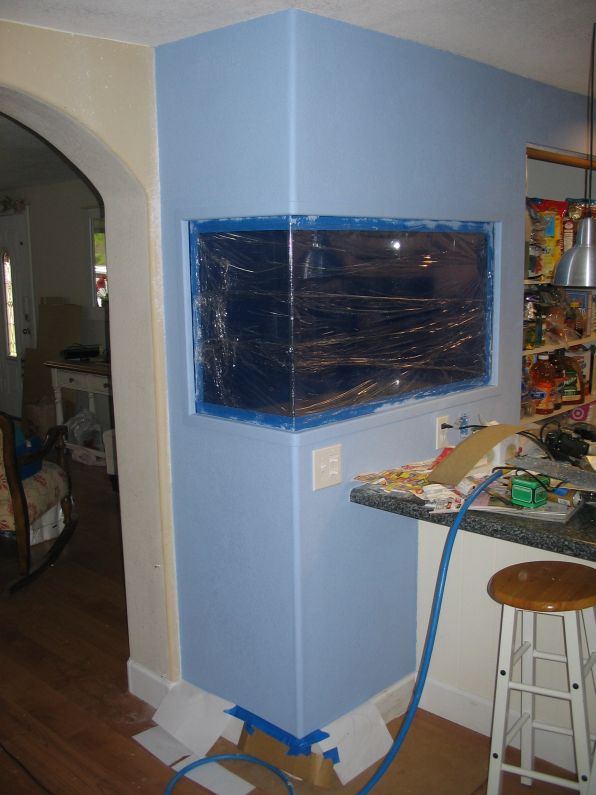
Aaarg! Here I realized I made a critical error. As I mentioned earlier I discovered there was no way to fit the aquarium in from the back. I thought I had measured this out correctly, but in practice things were less ideal. Since the tank is about 4″ taller than the opening, the only other way was to cut some of the top paneling.
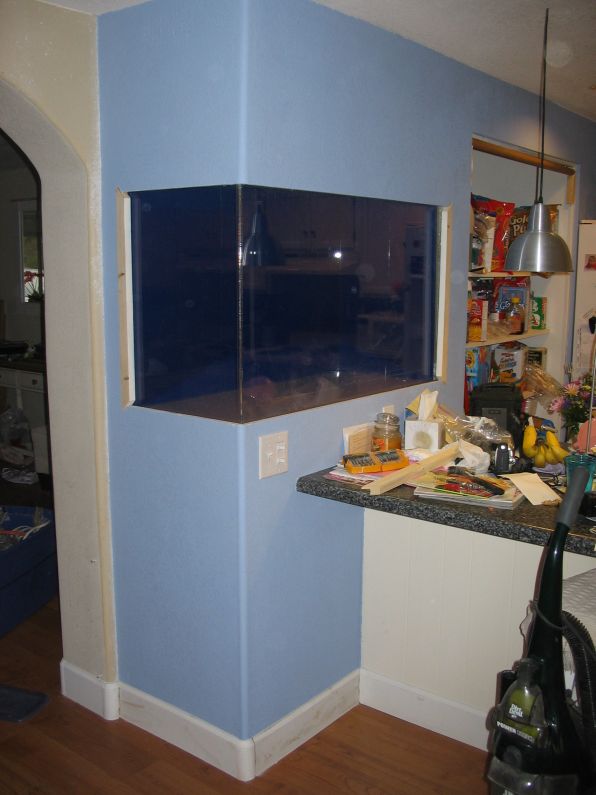
Aha! So I actually fit the tank in this time!

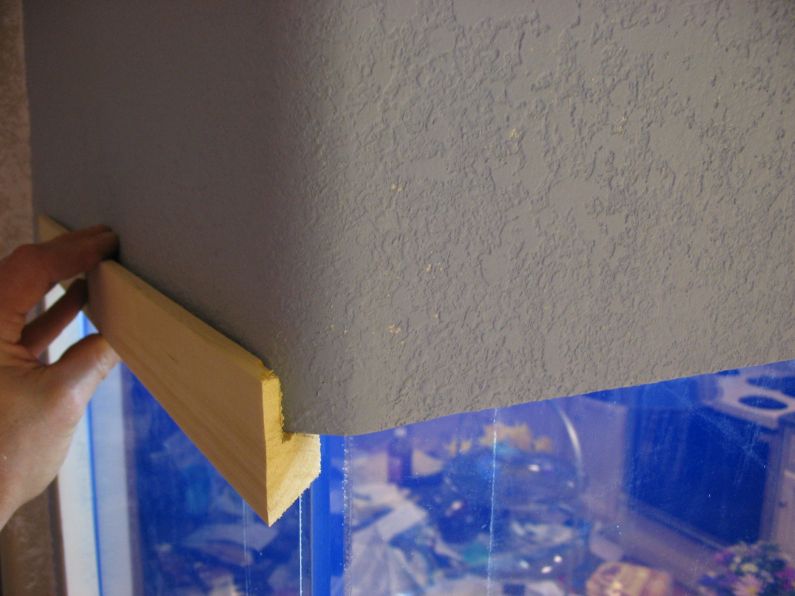
I repatched the top panel. Home depot didn’t cary exactly what I was looking for so I made my own trim. Here I am fitting a piece.
Checking more trim pieces.

Trim. Trim. Trim.
The trim before rouding a painting.
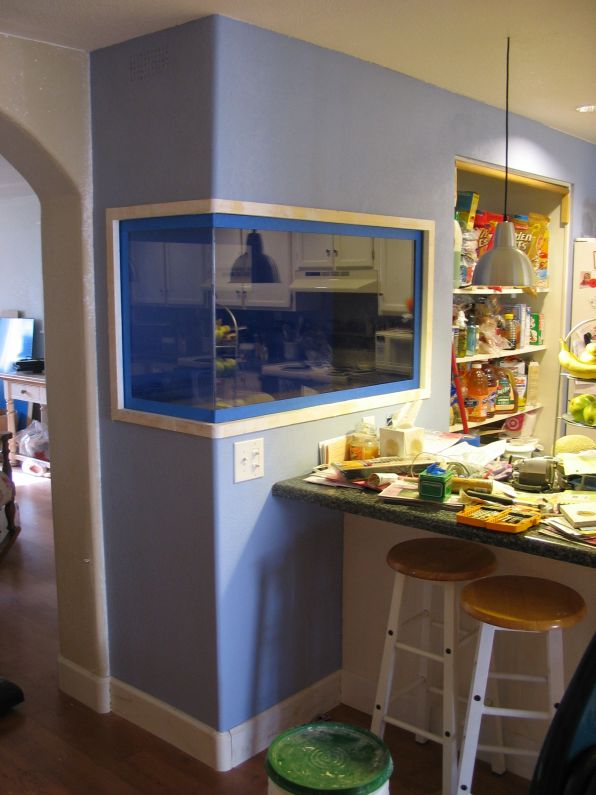
Painted the Trim.
So Far So Good.
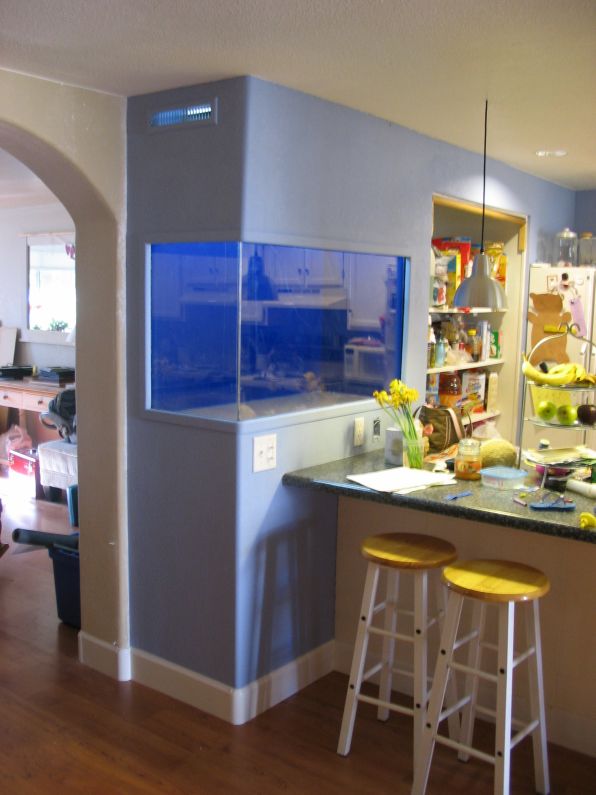
Here it is with my work light on. Notice the air vent on top. This will be baffled so that sound doesn’t escape the cabinet just air.
The cavity for the baffle is lined with marine carpet. This should handle the humid air being blow out of the cabinet across the lights
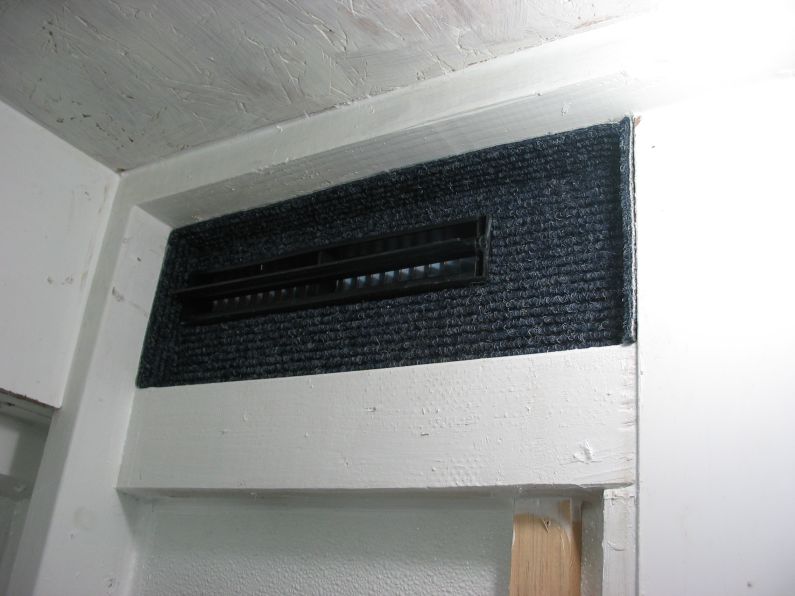
I have installed the inside baffle. Notice the hole on the right side. The air will pass through here, which the light will be greatly reduced. I don’t see a hint of light from my metal halides out of the vent hole, and I can’t hear the fan when I put my ear up the vent. All I feel is air!

This isn’t much of a shot, but I made my own metal halide light box out of sheetmetal. All enclosures that I could find took up too much room.

The light boxes went together nicely. Quite a bit easier than expected.

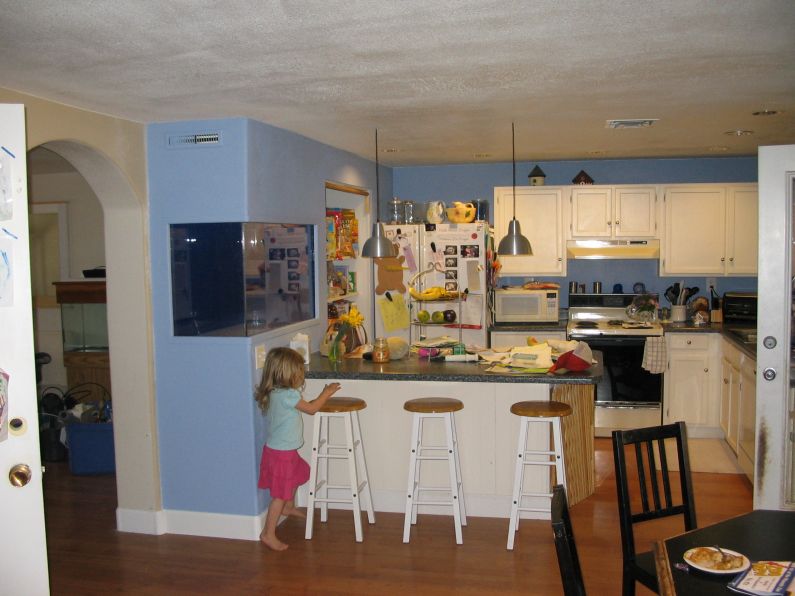
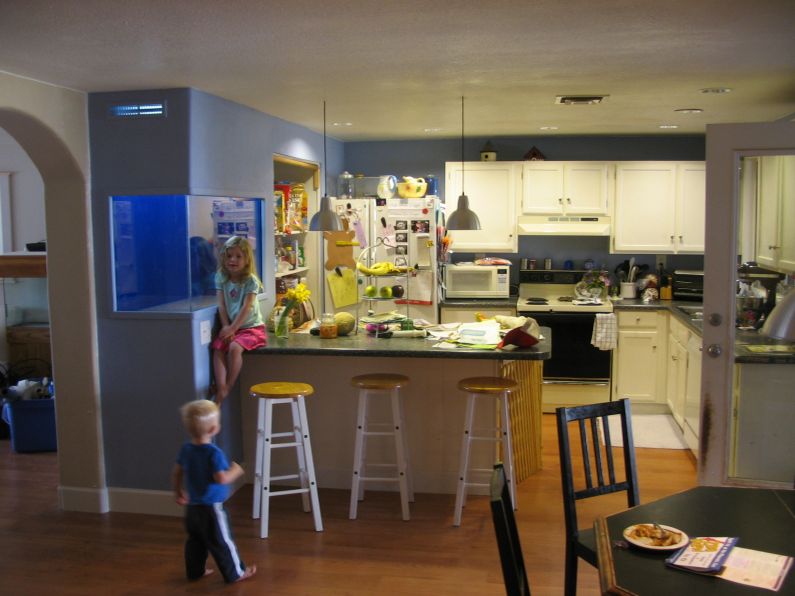
Front with kiddies.
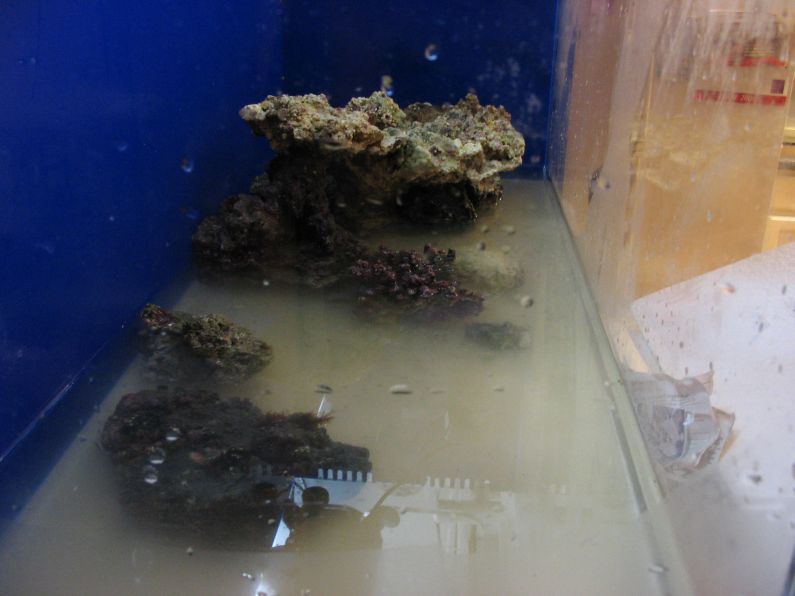
Starting Aquascaping. I used 3/8 and 1/4 inch acrylic rods to attach the rocks together. I drilled the rock using a 1/4″ masonry bit and a regular long 3/8″ wood/metal bit.
More Aquascaping.
More Aquascaping.
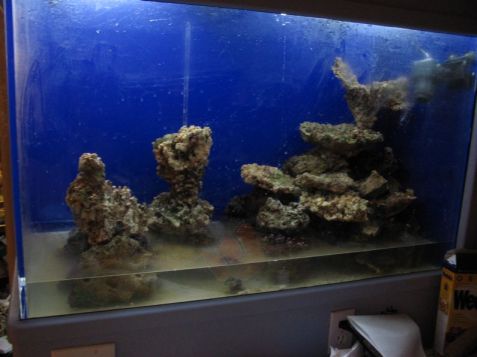
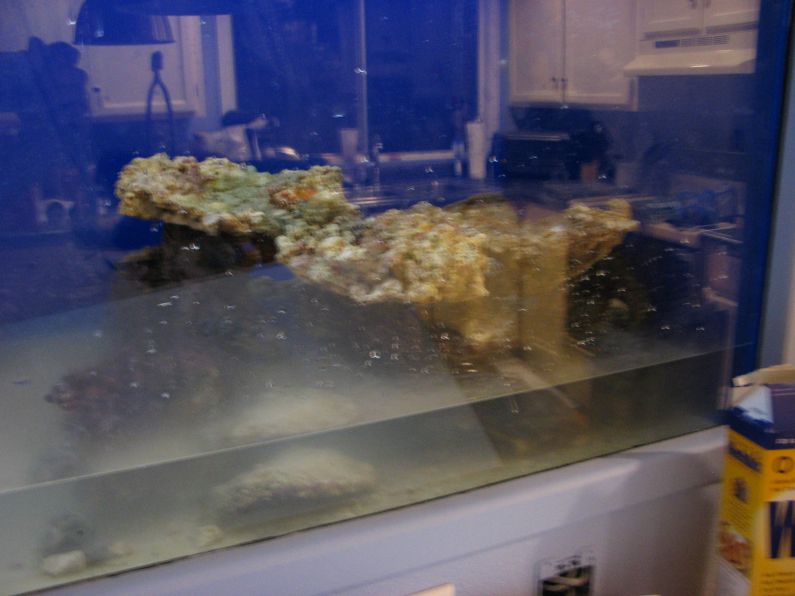
Aquascaping done Rock is curing. I just have my work light on. Tank lights aren’t installed yet.
Finished Aquascaping. Here I have my Metal Halides on alone. Haven’t yet installed the VHO actinic.
